Editing Your Courses
For each Activity that you did in a course, check off the box beside the appropriate course. Once a course is linked/added to an activity, that course will now appear under the Courses menu item on your home page. When the course is linked/added to more than one activity, all of those activities will appear when that course is selected from the list of Courses on the home page.
For any new courses you’ve registered for or completed, you can manually add them.
Courses appear on your site as basic course codes (ex. SUBJ100). To provide context and meaning for your audience, it is recommended for you to include the course name and description.
-
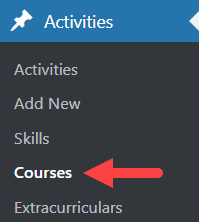
- From the Dashboard, go to Activities > Courses
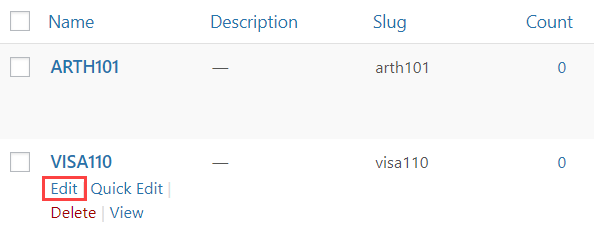
- Hover over a course code listed in the right column > Edit
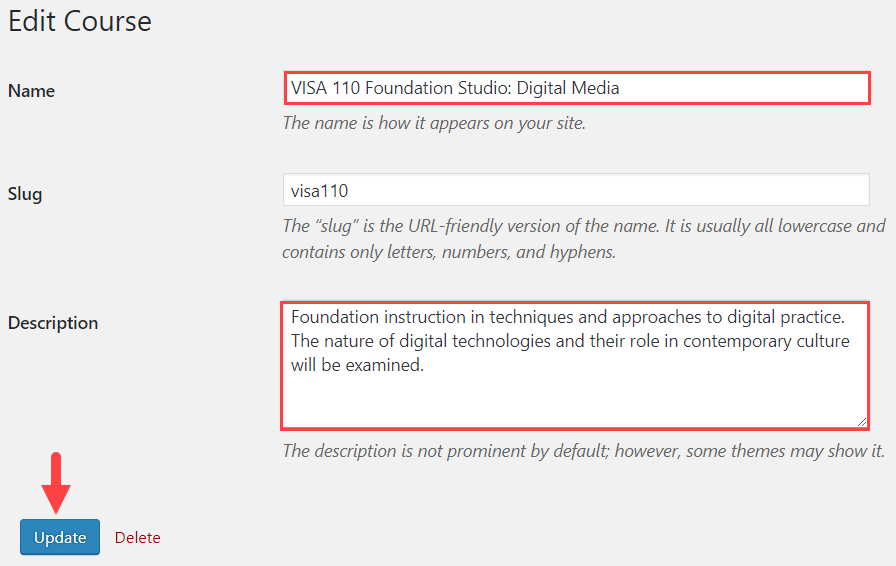
- Edit the following fields:
- Name -Include the name of the course beside the course code
- Description – Describe the course.
- Click Update
- From the Dashboard, go to Activities > Courses
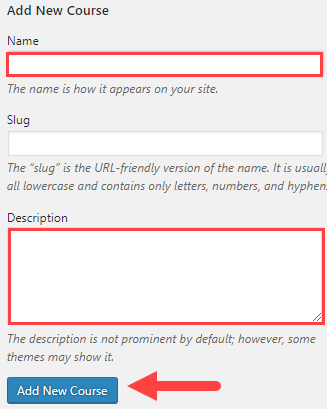
To add a new course, follow the instructions below.
- From the Dashboard, go to Activities > Courses
- Fill in the following fields:
- Name
- Description – Describe the skill, your level of expertise, how it is useful in relation to your audience, etc.
- Click Add New Course