The Text Editor in Detail
You will see the Text Editor available in multiple areas as you build your site (activities, profile, customization options). Below highlights some of the more commonly used functions in the text editor tool box.
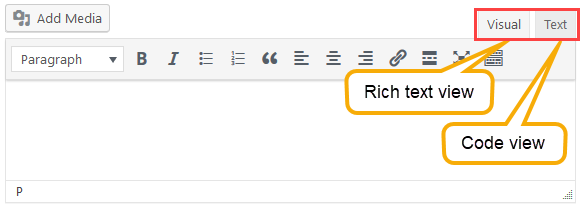
You can edit your content using the Visual (recommended) or Text (html code) views.
Access the full set of text editor tools.

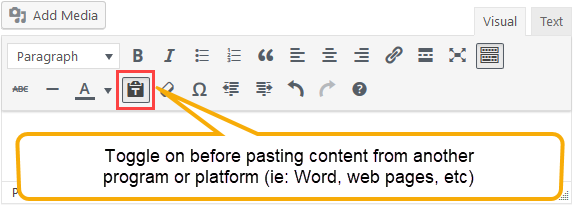
If you are copying content from an external source (program like Word, website, etc.), toggle the Paste as Text tool on before pasting it into your text editor field.
This will strip the content of existing formatting that may not be compatible with your site. It’s highly recommended that you apply all your formatting using the text editor tools.
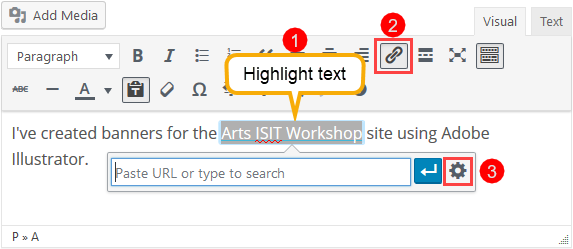
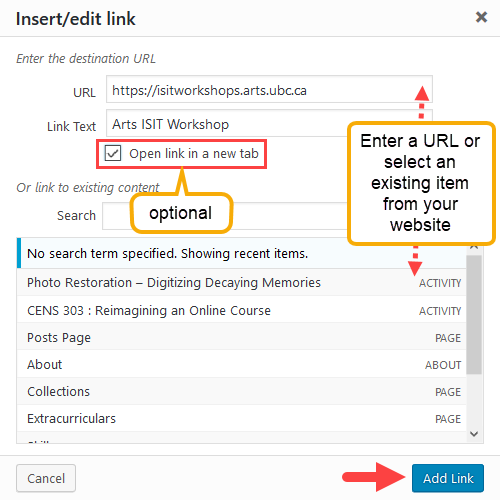
- In the text editor field, highlight the text that you would like to link
- Click on the Pencil Icon
- Click on the Gear Icon
- Type in the URL or select a page from your website under OR link to existing content
- Check the box beside Open link in a new tab. (Optional. Recommended for external URLs)
- Click Add Link
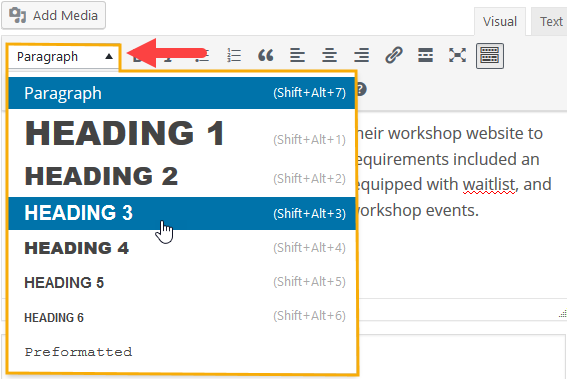
You can easily apply pre-formatted heading styles to your text and titles that match the theme of your site.
- In the text editor field, highlight the text that you would like to format
- Click on the Paragraph drop-down menu
- Select a style
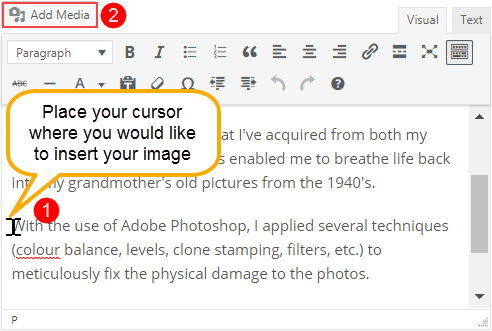
- In the text editor field, place your cursor where you would to insert the image
- Click Add Media
- Select the Upload Files tab (or the Media Library tab to insert a previously uploaded file)
- Click Select Files OR drag and drop the file from your computer into the indicated uploading space

- In the Attachment Details panel to the right, you can edit the following optional settings:
- Title
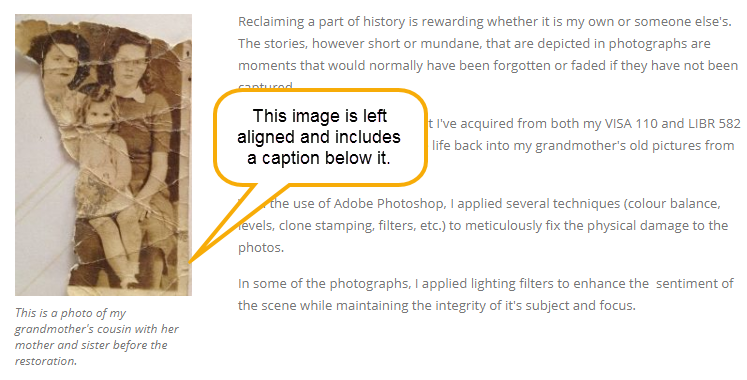
- Caption – accompanying text that appears below the image
- Alt Text – text that appears in replacement of the image if it does not load properly or spoken if a viewer is using a screen reader
- Alignment – align your image to content (example: if “left” is selected, content will wrap to the right of the image)
- Link To – by default the image is static (None), however you can link it to a URL, media or attachment page (both these options will link to the full size version of the image)
- Size
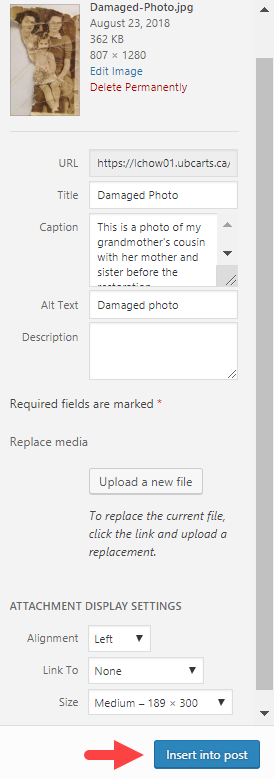
- Click Insert into post
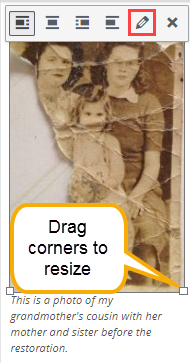
Editing an Inserted Image
- Click on the image
- A bounding box will appear around the image. You can drag the corners to manually resize the image.
- You will also see a set of quick alignment options and a pencil icon to open the full options window